
When Gmail launched its snooze feature back in April 2018, it came as welcome news to those with particularly busy inboxes. In a nutshell, the Snooze feature allows users to delay the time at which emails appear in their inbox, which means you can stagger the flow of your incoming mail to a rate that suits you.
With the number of emails most of us will receive in 2024, there are bound to be at least a few emails we want to snooze. But if you’ve never used this feature before, it’s easier said than done. So in this post, we’ll cover what the snooze feature actually does, how to use it, and ultimately make it a natural part of your Gmail workflow.
What does Snooze in Gmail Mean?
Before the Snooze feature was launched, heavy Gmail users would have no choice but to let their inboxes fill at a natural rate. They had no way to control the flow of messages and were often met with a bursting inbox every time they logged into their accounts.
But the Snooze feature – a little icon found at the top of each incoming message – allows Gmail users to delay sending the email and ensure the message resurfaces at a specified later time.
The feature is only accessible via your inbox, so you cannot snooze an email as you’re reading it (unlike the Email Reminders feature in Right Inbox).
Why Use the Gmail Snooze Feature?
Gmail Snooze is most suitable for very active members of Gmail, i.e. those with very busy inboxes. Essentially, it helps users regulate the flow of their incoming messages so that, on a day when their inbox is filling up fast, they can set a number of their messages to pop up later.
The only danger of the Snooze feature is that if it’s overused, the problem of a busy inbox isn’t necessarily solved. Instead, users could wind up creating a never-ending build-up of messages that are never attended to.
How to Use Gmail Snooze
Step 1. Log in to your Gmail account.
Step 2. Go to your inbox, and locate the email you would like to snooze.
Step 3. Click the Snooze icon towards the right-hand side of the email preview.

Step 4. Select one of the predetermined snooze options: tomorrow, this weekend, or next week.
Step 5. Alternatively, click Select date and time to choose your own delay, and click Save.
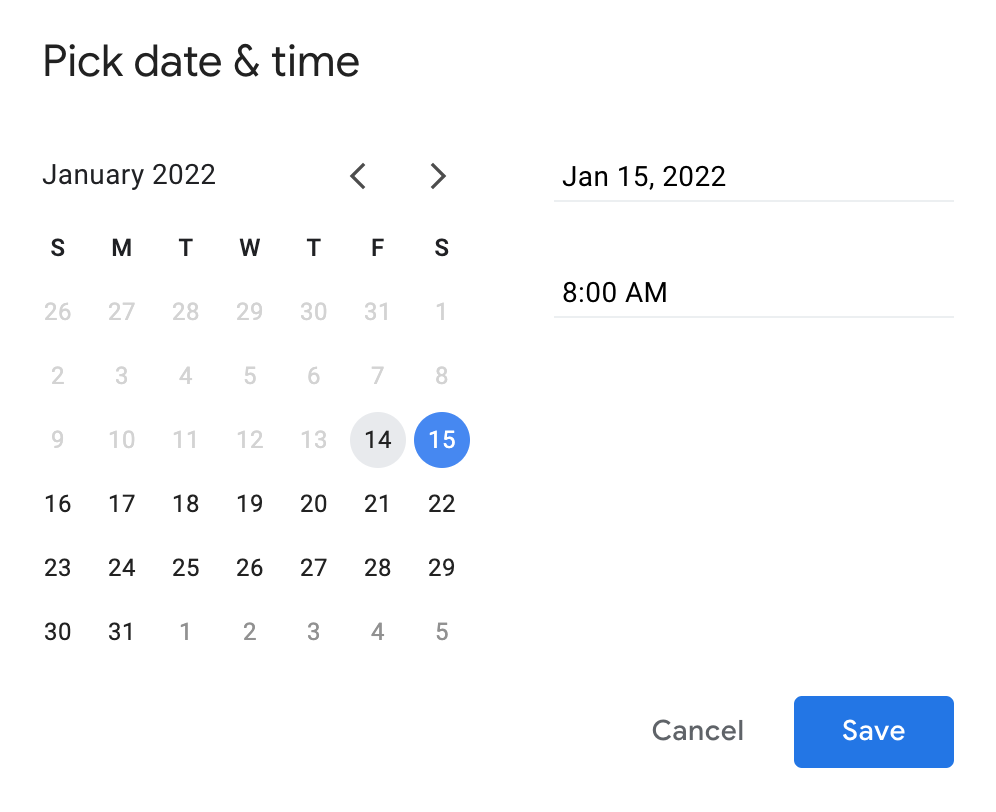
Step 6. Once your snooze delay has been saved, you’ll see a confirmation pop-up appear in the bottom left of the screen. Now is your chance to undo the command if you’ve made a mistake.
Step 7. The selected email will now have disappeared from your inbox and will resurface at the date and time you’ve specified.
Similar Features in Right Inbox But Better
Right Inbox offers a much better alternative to snoozing emails. Email reminders allows users to deal with your emails until a later date. Email reminders for Gmail is free to use and brings your Gmail experience to the next level. You can see how it works below:
Email Reminders in Gmail
Email Reminders let you set reminders for both incoming and outgoing mail so that you’re alerted to them at a later date. It’s just a little extra work than clicking snooze, but it will help you regulate the flow of your emails just the same. What’s more, you can set reminders from within the messages themselves, which Gmail doesn’t offer.
To set yourself a reminder in an incoming message:
1. In your inbox, open the message you want to address later.
2. Locate the Reminder button at the top of the message.

3. Select the time delay at which you want to be reminded of the email.
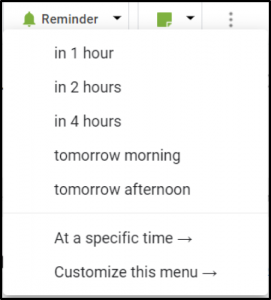
4. Alternatively, select At a specific time to determine a certain time.
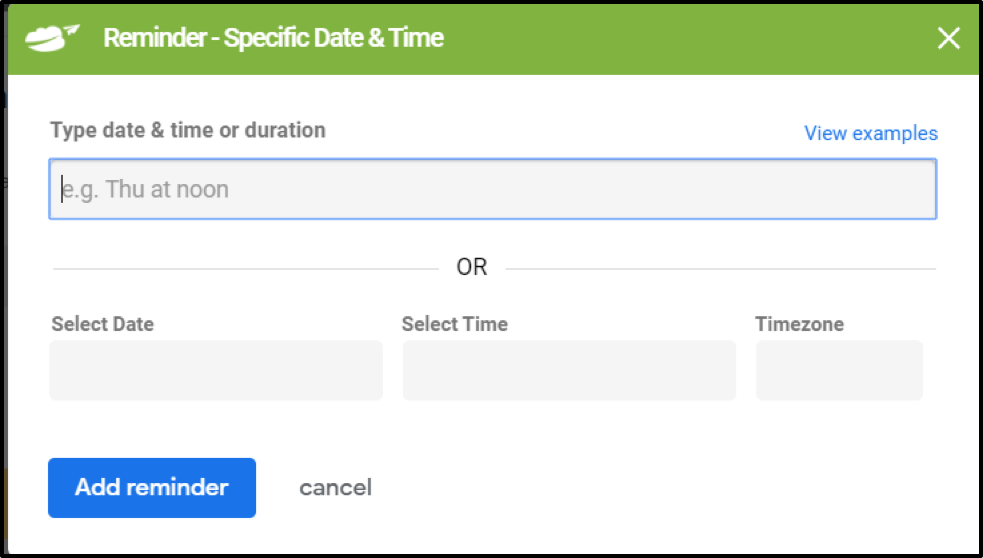
5. Click Set reminder.
6. Once your reminder has been set, a pop-up will confirm this in the bottom left of the screen.
7. Your email reminders can be located in the To be reminded folder in your left-hand menu.
Email Notes in Gmail
Email Reminders works effectively in conjunction with Email Notes, which allows users to add a quick message to incoming or outgoing mail.
To set a note to incoming mail:
1. Go to your inbox and open the email you want to add a note to.
2. At the top of the email, select the Note button.

3. Write your note in the space provided.
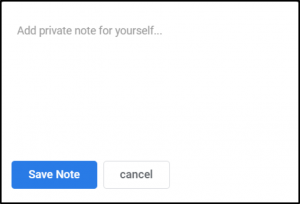
4. Click Save Note.
5. Emails with notes can be located in the Note folder in your left-hand menu.
Recently, Gmail has begun to offer users more project management functionality. Snooze is one of those features, enabling heavy Gmail users to regulate the rate at which they need to attend to incoming mail.
While snoozing emails can be useful, having an entire email productivity tool like Right Inbox allows you to get more from Gmail. Reminders and notes are not the only features on offer. Right Inbox allows users to set up email templates, recurring emails, email scheduling and email tracking.
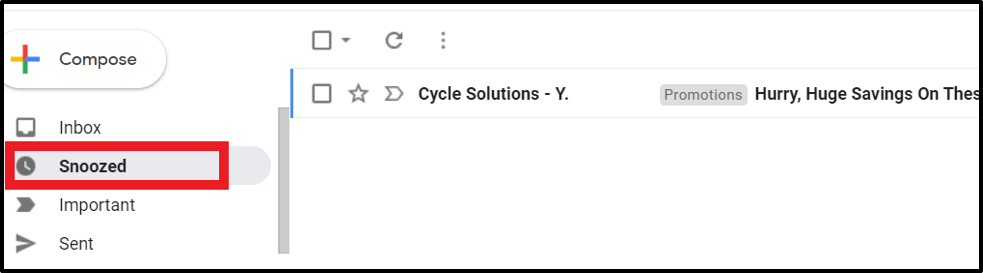
Locating Your Snoozed Emails
If, for whatever reason, you need to retrieve an email you’ve snoozed, you can easily access them in your Gmail menu.
Simply scroll down to the Snoozed folder where you’ll find all the items you’ve set to snooze.
How to Snooze a Gmail Email on a Mobile Device
Step 1. Open the Gmail app on your mobile device.
Step 2. Open the email you want to snooze.
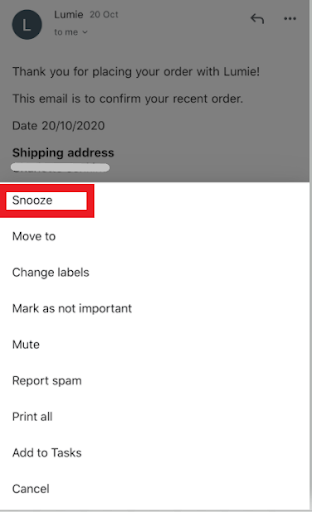
Step 3. Tap on the three dots (more) at the top right hand of the screen.
Step 4. Tap on Snooze.
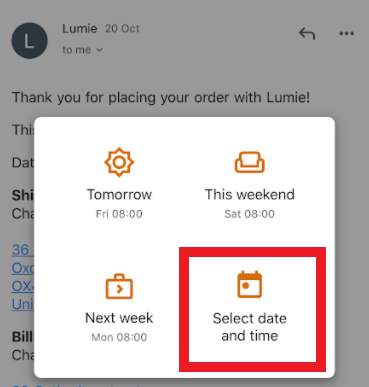
Step 5. Select an option for delaying your email from the preset options:
- Tomorrow morning
- This weekend
- Next week
Step 6. You can also schedule the message to arrive at a specific date and time.
Step 7. Define the exact date and time you want to re-receive the email.
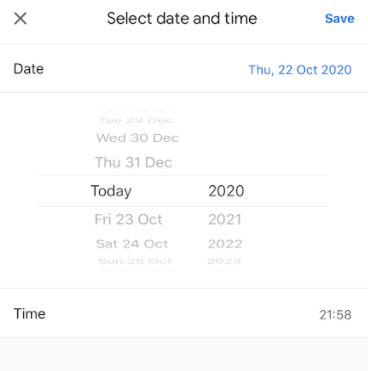
Step 8. Click Save.
Step 9. Your email will now be sent to your Snoozed folder until it’s resent to you at the date and time you’ve specified.
How to Search Through Snoozed Emails in Gmail on a Mobile Device
Scroll through the snoozed folder
Step 1. Open the Gmail app on your smartphone.
Step 2. Tap on the menu (three horizontal lines) at the top left of the screen.
Step 3. Tap the Snoozed folder where you’ll find all the emails you’ve snoozed.
Step 4. To locate an email in the Snoozed folder, scroll through the messages to find the one you want.
How to Disable Gmail Snooze
Step 1: Go to your Snoozed folder on the left hand side of your Gmail inbox. This folder contains all of your snoozed emails.
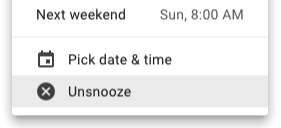
Step 2: Once inside your Snoozed folder, go to the email you want to unsnooze. Hover over the email and click on the Snooze icon on the right hand side.
Step 3: You will see a drop down menu. Click the Unsnooze option at the bottom.
And there you go. Your email will be Snoozed and appear back in your inbox.
Gmail Snooze Not Working
Gmail Snooze sounds great in theory. But what happens if your Snooze function isn’t working? There have been plenty of reports of users having issues getting their Gmail Snooze to act properly.
Some common issues are:
- Snooze only appearing in the mobile app version
- Emails getting unsnoozed accidentally
- Gmail not allowing you to snooze an email due to UI glitches
Of course, this can result in you not responding to an important email in time. The consequences for that can range from forgetting a lunch date with a friend, to paying your bill late (and getting charged extra fees), to entirely losing a potential client.
So how do we avoid this? Using Right Inbox you enjoy the same functionality as Gmail Snooze without worrying about performance issues.
Right Inbox allows you to schedule email reminders. These reminders won’t hide your emails either, meaning that you get the best of both worlds: you can rest assured that you respond to emails in a timely fashion, without them disappearing if you want to respond sooner.
Track emails, email reminders & templates in Gmail for free
Upgrade Gmail with the features it’s missing
Add to GmailDavid Campbell
David Campbell is the editor of the Right Inbox blog. He is passionate about email productivity and getting more done in less time.