Your email signature is an important part of both your day-to-day communications and your larger sales and marketing campaigns. Not only does it provide your recipients with information about you and how to get in touch, but it also has the potential to leave an impression about your brand.
Adding an image is a big part of this, and thankfully, Gmail makes it pretty easy for you.
Why Should You Add an Image to Your Email Signature?
What you include in your email signature will speak volumes about who you are as a company and/or individual. The primary purpose of an email signature is to provide your recipient with your relevant contact details, but an image can enhance the overall look of it.
For starters, it can help to establish brand cohesion. By including a company logo or banner, you can tie in your email communications with the rest of your marketing collateral.
Secondly, an image-based call-to-action gives your recipients something to click on, turning them from passive readers into active audience members. Right Inbox gives you the option to switch between signatures for different contexts. Include different images in your personal or business emails.
But before you even think about adding an image to your email signature, you have to ensure that the picture is edited and of the highest quality without compromising on speed. Quality images can greatly increase engagement, so use editing software to enhance images, remove clutter from photos, or produce entirely new images for your signatures.

How to Insert an Image Into Your Email Signature
Step 1. Sign into your Gmail account
Step 2. Go to Settings (the gear icon in the top right hand corner of your screen)
Step 3. Under the General tab, scroll to the bottom to find the Signatures section
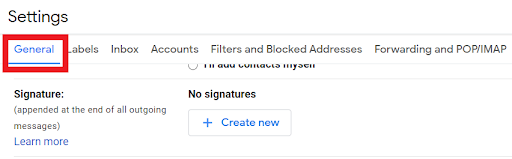
Step 4. By default, “No signature” is selected
Step 5. To add a signature, select the Create new button. A text box will appear where you must name your signature.
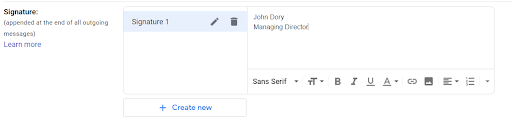
Step 6. Add your signature name and click Create
Step 7. Customize your signature in the text box provided
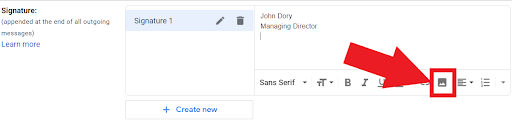
Step 8. Either in your new signature, or in the existing signature that you’re editing, click on the area of your signature where you want to insert your image
Step 9. Select the image icon in the bottom pane of the text box
Step 10. You’re now given 3 options for where to select your image from:
- “My Drive” (Google Drive)
- Upload (from your computer)
- Web address (URL)
Step 11. The first two options allow you to select images either from your Google Drive or computer drive. The third option, Web address, is useful if you want to add an image from your company’s website (e.g. a logo or a call-to-action). To do this:
11.1) Open your company’s website and find the logo
11.2) Right click on the logo and select Copy image address
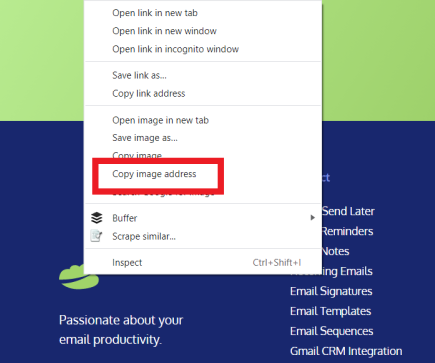
11.3) Go back to your Gmail signature settings and select Web address (URL), and then paste the image address URL into the box provided
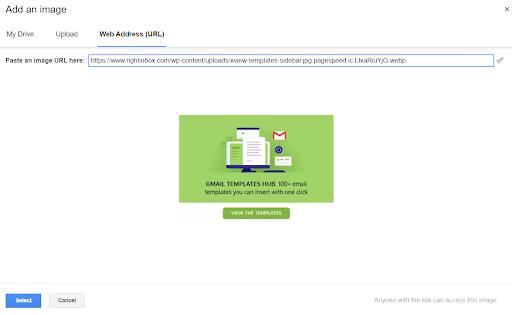
11.4) Click Select
Step 12. You can change the image size by selecting from Small, Medium, Large or Original size when the image is highlighted
Additional Reading: How to Add Social Media Icons to Your Gmail Signature
Activate and Test Your Signature
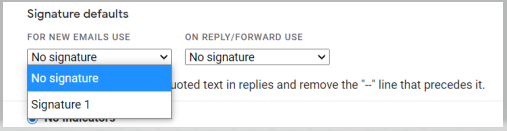
Step 1. Make sure you enable your signature by editing your signature defaults. You can select your signatures for both new emails and for replying and forwarding.
Step 2. Save your signature by clicking Save changes at the bottom of the page
Step 3. Test your email signature by sending yourself a test email. Make sure that everything looks the way you want it to and that all links work.
Add a Link to Your Image
If desired, you can also make your image clickable:
Step 1. Go back to Settings – General – Signatures
Step 2. Find your signature and click into the text edit box
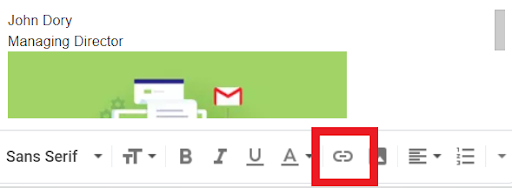
Step 3. Highlight your image and select the link icon
Step 4. Insert the URL to which you want to link the image
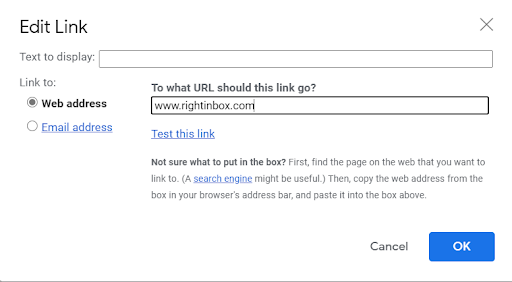
Step 5. Click OK.
Step 6. Click Save changes at the bottom of the pag
Adding an image to your Gmail signature can elevate your emails from simple communications to brand and marketing opportunities. Thankfully, the process is straightforward, and you can even choose to save several email signatures to use at different times.
Adding Additional Footers as a Google Workspace Admin
As a Google Workspace administrator, you can create additional footers for your organization. These footers are added to the bottom of existing personal signatures on outbound emails.
However, keep in mind that if you add an image with this trick, there are a few necessary steps beforehand.
Most importantly, it must be available via a public web link. Otherwise, this image will not show in your newly created footer.
To create a public image link to insert into your footers, follow these steps:
1. Type “Site.new” into your Google Chrome web browser
2. On this new site, create a title for your page (“Footer Images” for instance)
3. On the right hand side, click on “Images” in the “Insert” category
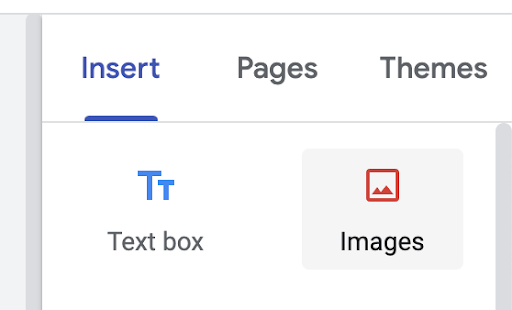
4. Upload the image you want to use
5. Click Publish at the top right of your site
Now, anyone who has access to the link will be able to see the images on the site.
6. The final step is to add the image from your Admin console. Simply click the image icon in the “Append Footer” section. Now, your new footer will include images that pass Google’s filters and remain public for all recipients.
Track emails, email reminders & templates in Gmail for free
Upgrade Gmail with the features it’s missing
Add to GmailDavid Campbell
David Campbell is the editor of the Right Inbox blog. He is passionate about email productivity and getting more done in less time.